
Reverse osmosis system installation needs more than space for a filter. Plan the feed joint, reject-water drain and final outlet together. A tank or powered unit adds its own space needs. This checklist helps you prepare the site and review an installer's scope. The exact manual and local plumbing rules govern the actual work.
Plan reverse osmosis system installation around the water path
Begin at the supply valve and follow the proposed route to the faucet. Mark where the concentrate will drain. If the design has a tank, show its position too. A diagram makes missing joints easier to find before the installer arrives.
Use the exact system manual for dimensions and space. The body may fit in a cabinet while the cartridges cannot be removed. Leave the stated service clearance. Avoid a layout that needs moving a full tank or dismantling the drain for each regular change.
The University of Nevada's installation guide describes an RO system's joints and upkeep. It is helpful background for planning. It is not a substitute for the instructions and code needs that apply to your unit and home.
Show the planned outlets
A distinct drinking faucet is one endpoint. A refrigerator line is another. Tell the installer about each one before work is quoted. Extra endpoints can change flow and tubing and startup needs.
Do not connect treated water to unplanned household uses. A point-of-use system is not by default suitable for whole-house service. The use guide explains output and delivery limits. Those limits help define the installation task.
Check feed water and pressure before choosing the unit
Compare the water report with the manual's feed limits. Hardness, disinfectant and sediment can change the treatment path. A built-in prefilter does not prove that every feed is acceptable. Resolve any pretreatment need before the final layout is fixed.
Have pressure checked under the conditions the maker states. A reading with no flow may differ from pressure during demand. Low feed pressure can reduce output. Excess pressure can exceed component limits and needs the right control.
For a well, weigh pump cycling and the planned draw. Ask whether the feed can support both usual household use and treatment. Do not infer that from pipe size alone. A source-water problem can need action beyond adding an under-sink RO unit.
Keep advisories distinct from equipment selection
If a water authority or laboratory has found a concern, follow its directions. A generic RO label does not settle a boil-water advisory or a failed well result. The exact reduction claim and working limits still matter. Seek the right professional advice before relying on the installation.
Use the well-water guide for the wider source assessment. Keep raw and treated sample points clear on the diagram. That makes later testing easier to interpret. It also prevents a sample from the wrong tap being treated as proof of performance.
Check cabinet space, faucet space and power
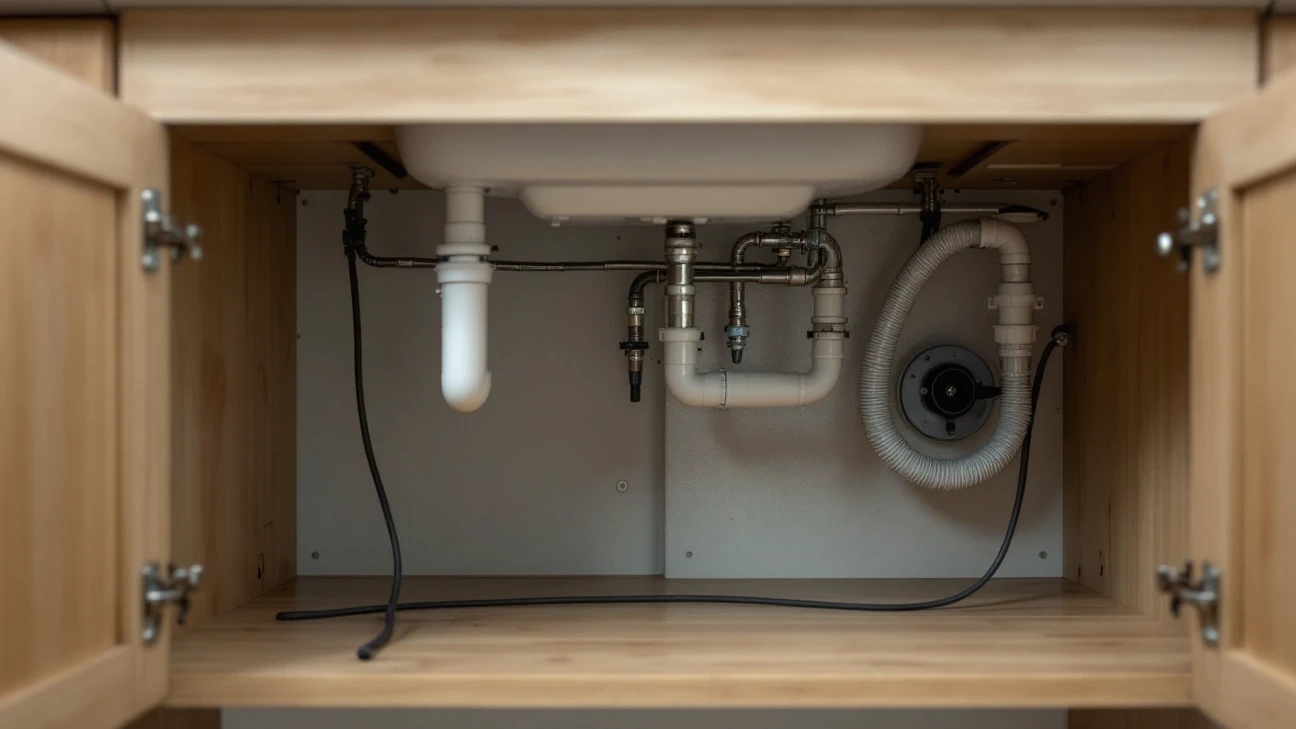
Measure with the trap, disposal and stored items in place. Note the door swing and room for a tray. Keep the shutoff visible and reachable. Leave enough space to check joints after startup.
Check whether an existing faucet hole can be used. If a new hole is needed, check the countertop surface and warranty. A specialist may need to carry out that work. Do not let a general plumbing allowance conceal an open surface-cutting task.
Powered systems need the stated electrical supply in a suitable location. Have any new electrical work carried out by the right qualified trade. Avoid routing power where usual cabinet use can damage it. A power need belongs in the quote before installation day.
| Site item | Check before work | Why it matters later |
|---|---|---|
| Feed valve | Condition and access | Shutdown and service |
| Cartridge clearance | Removal direction and space | Regular changes |
| Tank location | Stable position and clear access | Delivery and inspection |
| Faucet opening | Surface and permission | Fit and surface care |
| Outlet | Unit need and suitable location | Pump or control use |
| Drain route | Approved joint and separation | Reject-water handling |
Scroll for more →
Review the drain joint as a plumbing task
RO produces a concentrate stream. It needs the route set out in the manual and local rules. Reaching a drain pipe does not make the connection suitable. Position, separation and connection details all matter.
Some installations need an air-gap layout. Have the installer find what applies locally. Do not copy a joint from another model's photo. Never push the reject tube into a location where wastewater can return through an unintended path.
Protect the line from kinks and stored objects. A route that works in a brief test may behave differently when the sink drains. Ask the installer to check it under relevant conditions. If water comes from an air-gap opening, find the cause rather than blocking it.
Whole-house RO needs a distinct review
A larger system can need distinct storage and a delivery pump. Reject-water volume and plumbing fit also need review. These are not simply larger versions of under-sink joints. A qualified designer should note the full treatment and delivery plan.
Ask how the drain route fits the site's wastewater system. Septic capacity and local discharge rules can affect the design. Resolve those questions before ordering equipment. They are not automatic zero-cost details.
Finish reverse osmosis system installation with commissioning
Commissioning brings the system into its planned working state. Follow the exact order for joint checks and sanitation and startup. New cartridges may need a stated flush or tank cycle. Do not shorten that process because the first water appears clear.
Check for leaks while the unit fills and after it reaches working pressure. Check each disturbed joint. Keep the cabinet easy to reach long enough for a later check. A dry joint at the first opening of the feed is only one observation.
Check the planned delivery at each linked outlet. Check any alarm or shutoff by its manual. Record a fault code rather than repeatedly resetting it. If a treatment goal needs follow-up testing, plan the correct sample after the needed startup process.
Do not replace a water test with a meter display
A TDS display can show a broad dissolved-ion trend. It does not find every unwanted substance. Use the test that matches the actual treatment goal. Record whether a final mineral stage sits before the sample point.
The mineral-removal guide explains that limitation. It can help you interpret the difference between feed and product readings. A commissioning sheet should say what was checked, rather than calling one meter number a full water-quality result.
Get a handover record you can maintain
Ask for the installed model and part numbers. Keep the diagram and settings with the manual. The handover should identify shutoffs and explain normal operation. That gives you a basis for spotting a later change.
Request the next service triggers for each stage. List any tank or sanitation tasks that differ from cartridge changes. Keep the installer's contact details with the record. A warranty note alone does not describe the maintenance sequence.
Our RO maintenance checklist covers the ongoing record. The filter replacement guide covers the part-change task. Read both before regular service is due, so you can order the correct parts without guessing.
Separate a prepared site from extra construction
An ordinary joint quote may assume a sound feed valve and suitable drain. Ask what happens if those assumptions are wrong. Keep repairs and countertop work distinct from the equipment price. Check who obtains any needed permit or check.
For a cost comparison, use the RO budget guide. It distinguishes installed ranges from a unit-only purchase. The same distinction belongs on the installer's written scope. Missing work should remain visible until it has a price or a checked inclusion.
If you rent, get the needed permission for alterations. Do not assume an under-sink position makes a project temporary. Feed, drain or surface changes can remain after the unit is removed. The approved scope needs to cover that reality.
Place the sink unit within the household treatment plan before extending its route.
For the wider choice of treatment formats, use the best reverse osmosis system guide. Match the required result before narrowing the equipment.
Frequently asked questions
Can any RO unit fit under any sink?
No. Check dimensions with existing plumbing in place and list cartridge-removal clearance. A tank and powered parts can need extra space. The chosen faucet and drain route must also work. A unit that fits physically can still be unsuitable for the available feed water or working pressure.
Does an RO unit need a drain?
The membrane process produces reject water that must go through the designed route. The joint and any needed air gap depend on the system and local rules. Have the installer check that layout. Do not block the reject line or connect it by copying another installation photo.
Can I reuse the old faucet and tubing?
Only when the new system's instructions and the installer check fit and condition. Alike connectors do not prove the same working limits or needed parts. List any retained parts in the handover record. Change damaged parts rather than relying on their previous use as evidence that they remain suitable.
Is installation finished when water reaches the faucet?
No. The system needs its prescribed startup, including flushing and leak checks under working pressure. Connected outlets and controls need review too. If the treatment goal calls for testing, use the right sample point after startup is complete. A flowing faucet alone does not establish that the installed system is ready for normal use.
Verdict on reverse osmosis system installation
Reverse osmosis system installation needs a full water path with room for service. Resolve feed limits and drainage before ordering, then commission the unit by its own instructions. A clear handover record makes the next cartridge change and fault check much easier. The installation should be maintainable as well as able to fit.